Create an AI generated Video with Text to Video
Note
Make sure you have at least 40 GB space on your hard drive for all the tools and models
1 Glossary
| Term | Description |
|---|---|
| Checkpoint (Model) | The brain of the AI, containing its entire foundational knowledge. These are large files (2GB to 6GB) that determine the overall capabilities of the generator. |
| LoRA (Low-Rank Adaptation) | A small style filter (10MB to 200MB) added to a Checkpoint. It teaches the AI specific styles, characters, or objects without replacing the main model. |
| Prompt | Your instructions to the AI. The Positive Prompt describes what to see, while the Negative Prompt lists what to exclude (e.g., blurry or distorted). |
| SafeTensors | The standard, secure file format for modern AI models and LoRAs. It is faster to load and safer than older formats. |
| Sampler (KSampler) | The algorithm that carves the image out of random noise. It uses Steps to refine the image over multiple iterations. |
| VRAM (Video RAM) | The memory on your graphics card. Video generation is hardware-intensive; 8GB cards require optimized Low VRAM workflows and smaller models (SD 1.5). |
| Workflow | The visual arrangement of nodes and their connections in ComfyUI. It defines the data path from your text prompt to the final image or video. |
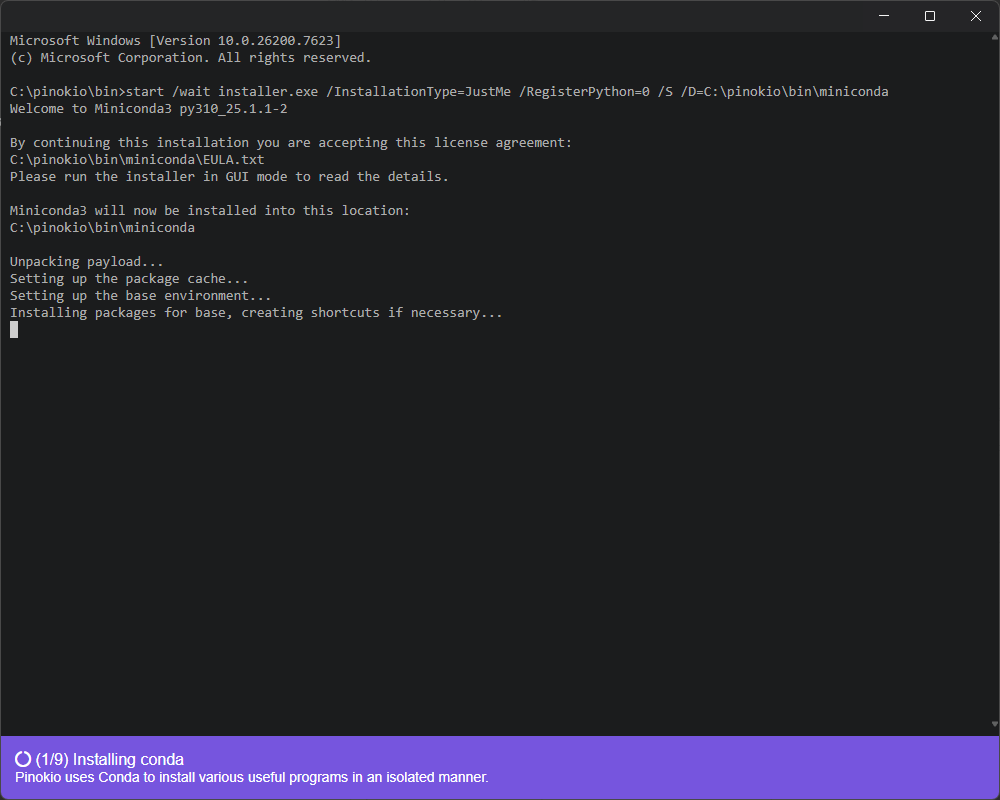
2 Install Pinokio
- Donwload and install Pinokio from https://pinokio.co
3 Install ComfyUI
- Open Pinokio and click on the Comunity button
- Search for
comfyui - Select ComfyUI from maoper and click Install, Install latest and finally Install
- In the Save as dialog click Download
- When the final ComfyUI Install dialog appears click the Install button and Install
- After the installion is done close all dialogs and click on the left side on Open Web UI
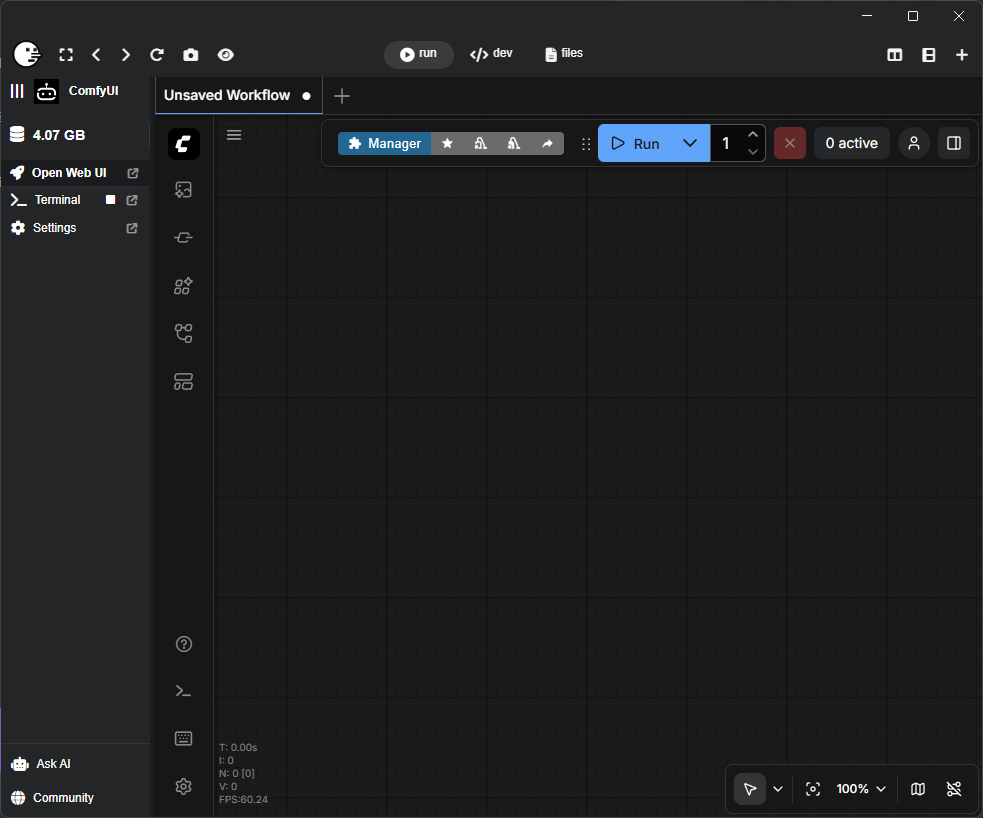
4 Install Extensions
- In the Node Editor click the Manager button
- Click the Custom Nodes Manager button
- Search for the Video Extension AnimateDiff by searching for
diff-evo - Install ComfyUI-AnimateDiff-Evolved
- Choose latest and click the Select button
- Search for the Voice Extension F5-TTS by searching for
f5-tts - Install ComfyUI F5-TTS
- Choose latest and click the Select button
- Search for the Lipsync Extension LivePortrait by searching for
liveport - Install comfyui-liveportrait
- Choose latest and click the Select button
- Exit and restart Pinokio
- Click on ComfyUI
- Wait until the Terminal finished its work installing the extensions
- You will see
ENOENT: no such file or directory, stat 'C:\pinokio\api\inteliweb-comfyui-pinokio.git\{{input.event[1]}}' - Exit and restart Pinokio
- Click on ComfyUI
- Wait until the Terminal finished its work and click left on Web UI
5 Download and install a Workflow
- Open https://civitai.com and search for
AnimateDiff SD1.5 - Choose a Model / Workflow and click Download (eg. https://civitai.com/models/323639/ipivs-sdxl-lightning-text2img2vid-sd15-animatediff-lcm)
- Login and the ZIP will be downloaded
- Extract the ZIP file and drag the Json (eg.
ipiv_SDXL_Lightning_AnimateLCM_02.json) file into Pinokio / ComfyUI's Workflow view - A dialog
This workflow has missing nodesappears - Close the dialog
- Click on Manager
- Click the Install Missing Custom Nodes button
- In the new dialog click the most top left checkbox to select all custom nodes
- Then click the Install button under the list
- Wait for the installations to finish
- Click the Restart button
- Exit and restart Pinokio
- Click on ComfyUI
- Wait until the Terminal finished its work installing the new custom nodes
- Click on ComfyUI
- Wait until the Terminal finished its work and click left on Web UI
6 Download and install a Model
- You may have no entry inside Efficient Loader / ckpt_name inside your Workflow Graph

- As we work with an Nvidia Quadro 4000 with only 8GB of VRAM and ComfyUI doesn't show results for Dreamshaper 8 we will download the Model from CivitAI
- Open CivitAI again and search for
Dreamshaper 8 - Set the filter on the left Filter by Model Type to Checkpoint to get Models only
- Download a model (eg. https://civitai.com/models/4384/dreamshaper)
- Move the model (eg.
dreamshaper_8.safetensors) toC:\pinokio\api\inteliweb-comfyui-pinokio.git\app\models\checkpoints - Press Ctrl+R or click the Refresh icon in the toolbar to refresh ComfyUI
- In Efficient Loader / ckpt_name click on one of the arrows (left or right) to load the new model
7 Add Animation Model
- Open https://huggingface.co/wangfuyun/AnimateLCM
- Click Files and versions
- Click AnimateLCM_sd15_t2v.ckpt
- Click the download button
- Move the model
AnimateLCM_sd15_t2v.ckpttoC:\pinokio\api\inteliweb-comfyui-pinokio.git\app\models\animatediff_models - Press Ctrl+R
- In the AnimateDiff node in the workflow click ad_settings and select
AnimateLCM_sd15_t2v.ckpt
8 Setup AnimationDiff Sampling
- Navigate to the Node SD1.5 AnimationDiff Sampling
- Set ckpt_name to
dreamshaper_8.safetensors - Set vae_name to
Baked VAE - Set lora_name to
None
9 Add Upscale Model
- Open https://huggingface.co/smnorini/Real_ESRGAN_Video_4x
- Click Files and versions
- Click Real_ESRGAN_Video_4x.pth
- Click the download button
- Move the model
Real_ESRGAN_Video_4x.pthtoC:\pinokio\api\inteliweb-comfyui-pinokio.git\app\models\upscale_models - Press Ctrl+R
- In the Upscale /w Model node in the workflow click model_name and select
Real_ESRGAN_Video_4x.pth
10 Add ClipVision Model
- Open https://huggingface.co/gartajackhats1985/clip_vision
- Click Files and versions
- Click CLIP-ViT-bigG-14-laion2B-39B-b160k.safetensors
- Click the download button
- Move the model
CLIP-ViT-bigG-14-laion2B-39B-b160k.safetensorstoC:\pinokio\api\inteliweb-comfyui-pinokio.git\app\models\clip_vision - Press Ctrl+R
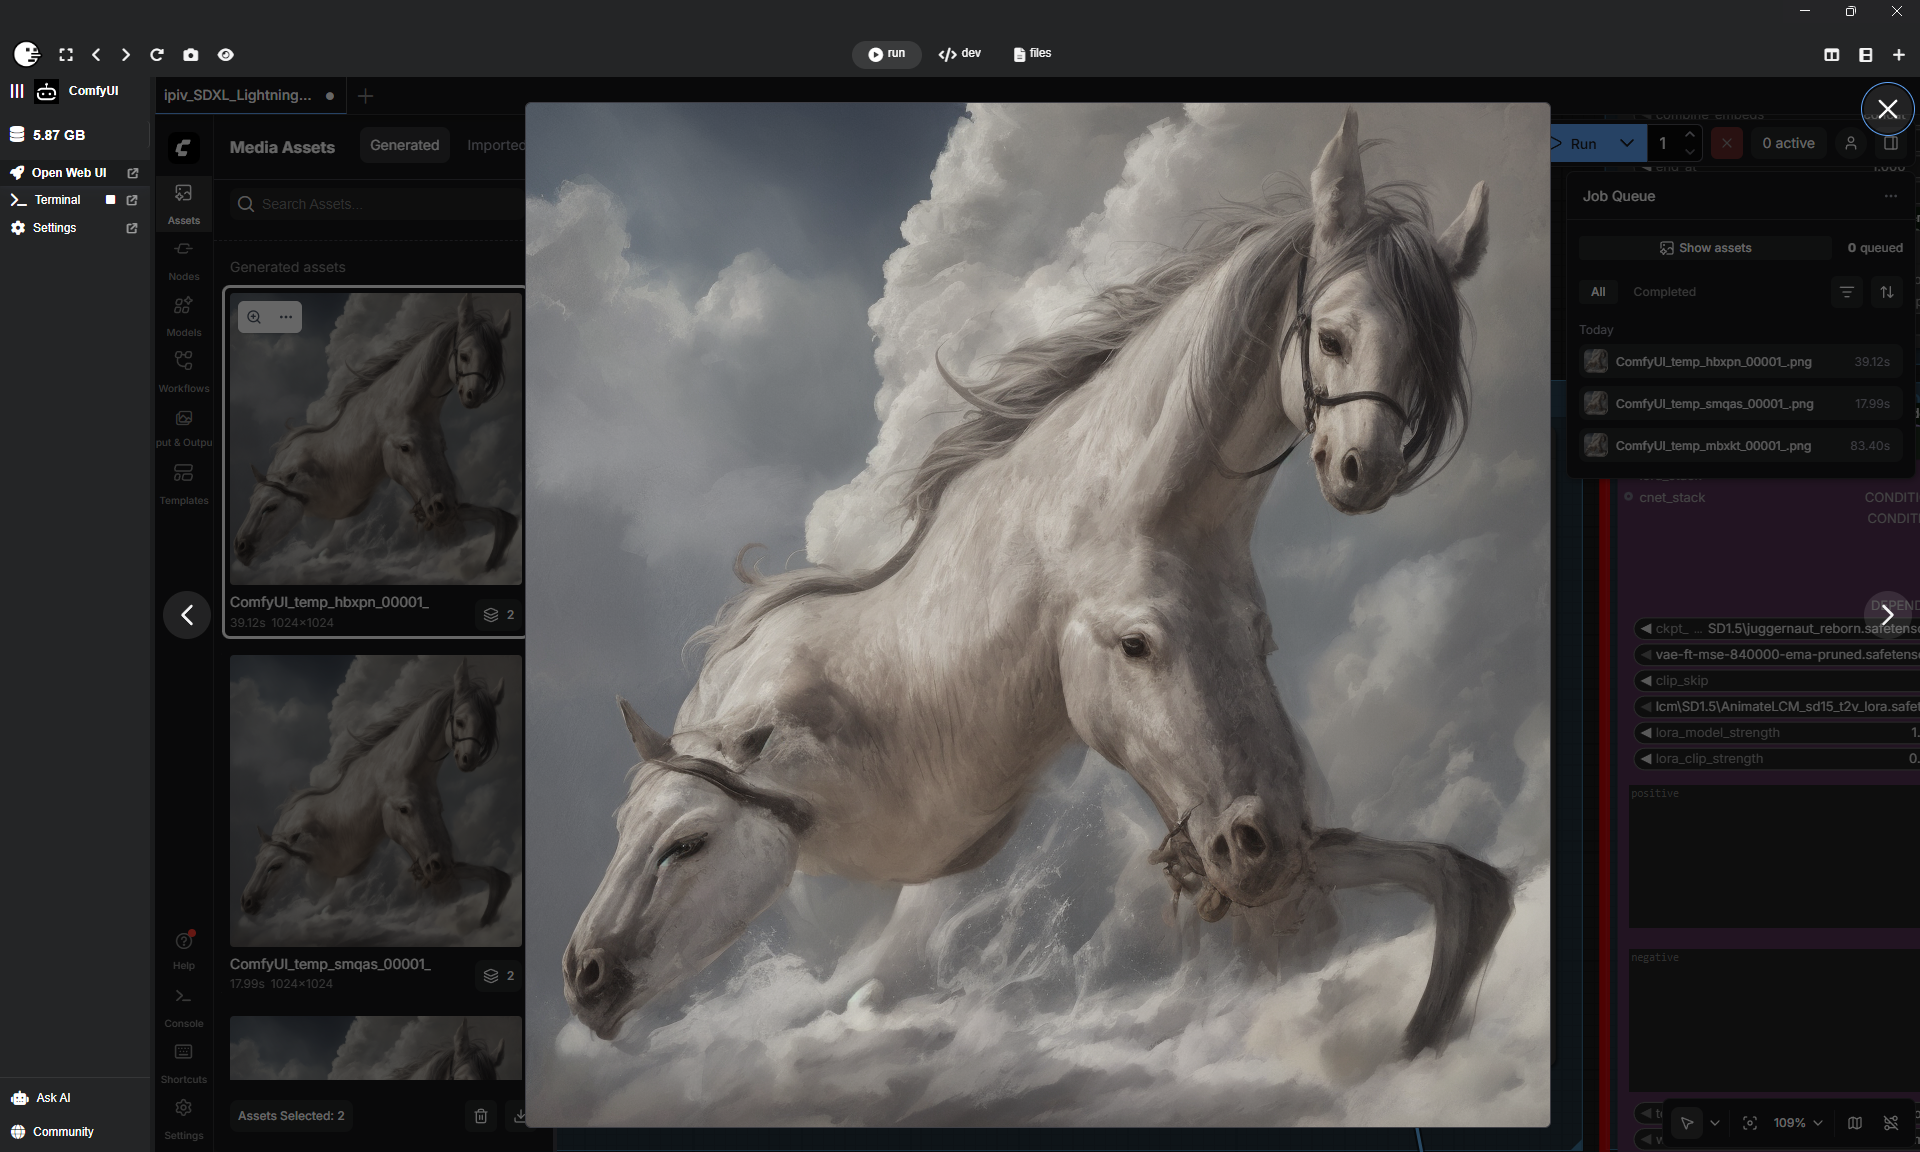
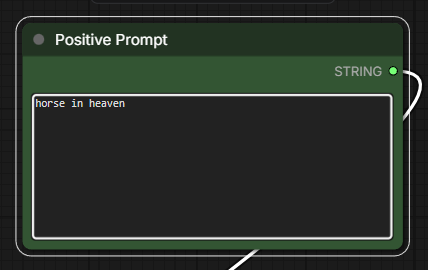
11 Generate a Video
- In the Positive Prompt node add your prompt (eg.
horse in heaven)
- In KSamper (Efficient) set steps to
40
Note
With seed you can change the way the model generates a new image, otherwise the same seed would always create the same image. If you click the Randomize button below seed it will randomize the seed on each run.
- Click Run to generate the image